|
Love Your Suds small batch, artisan, handmade soaps Blog Vancouver BC Canada
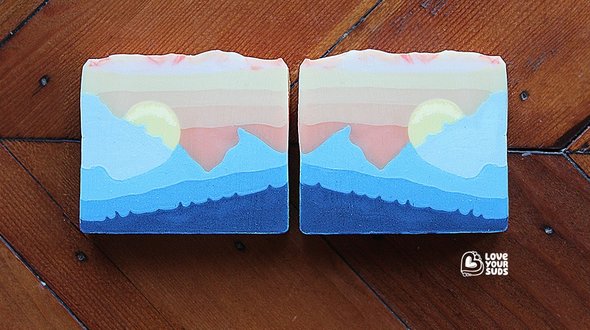
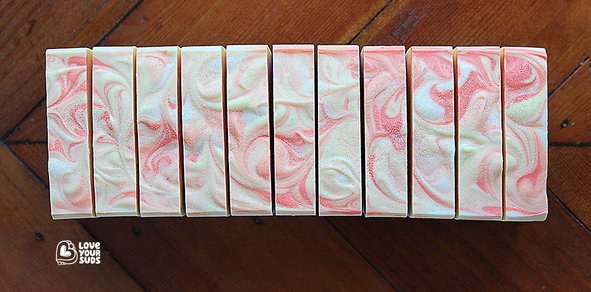
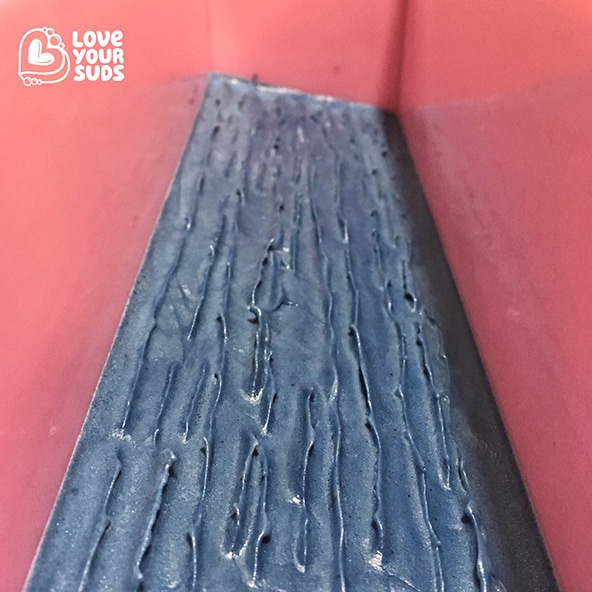
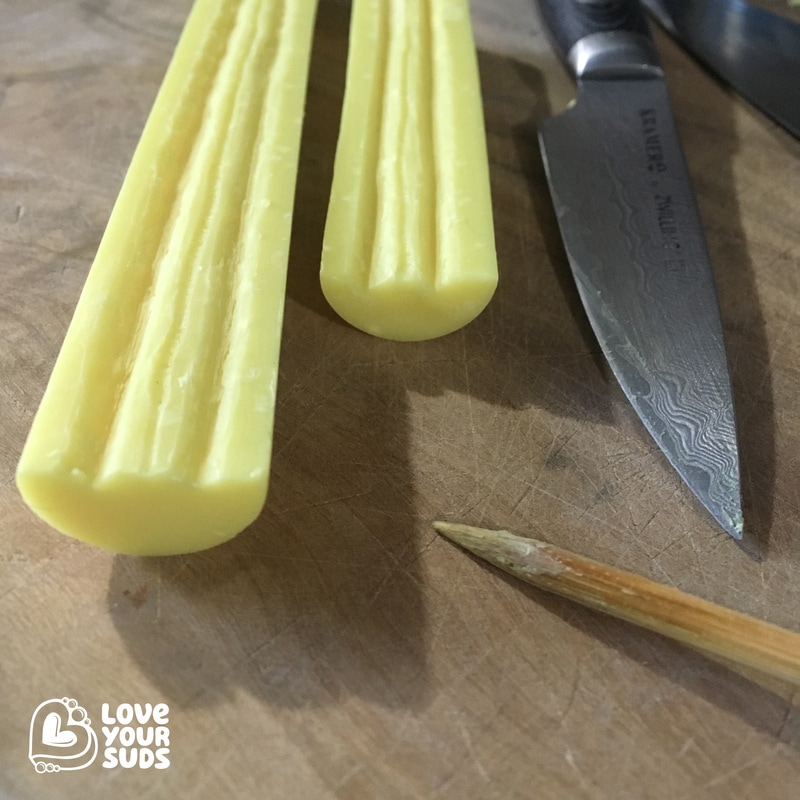
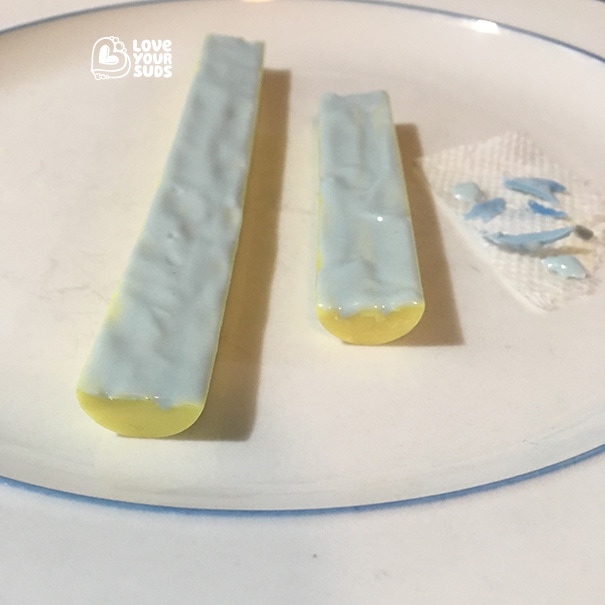
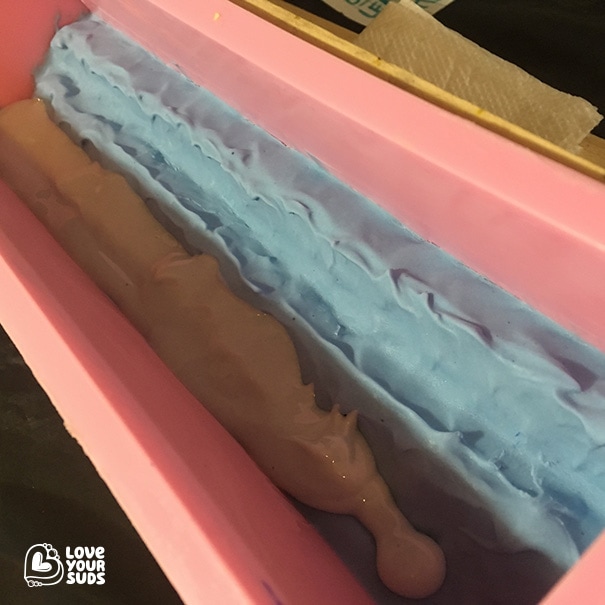
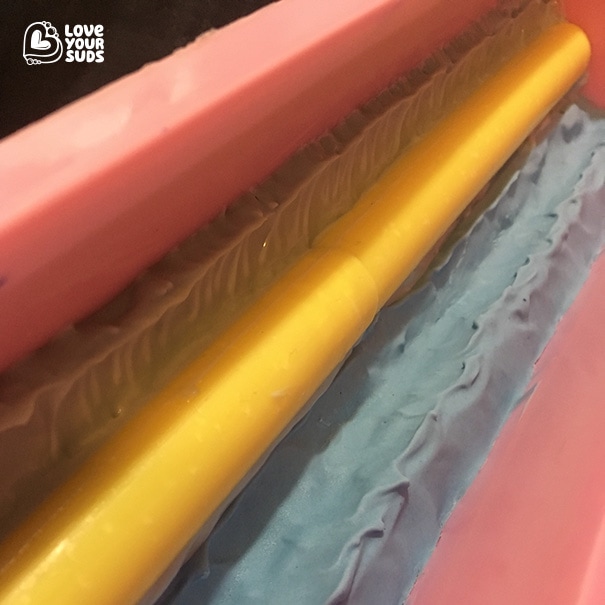
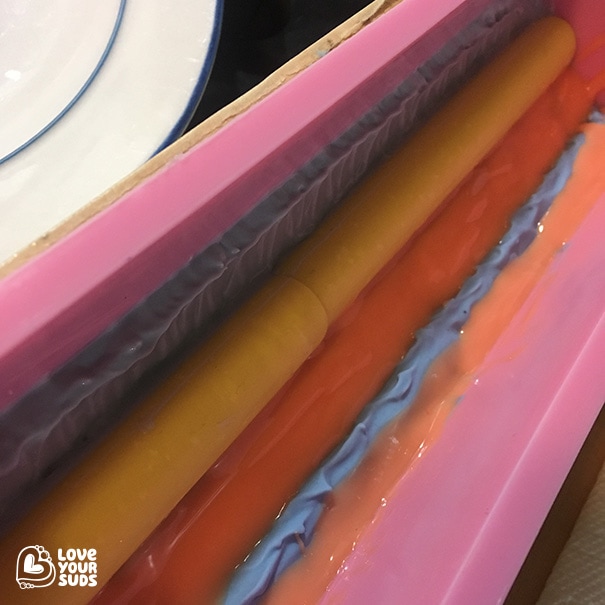
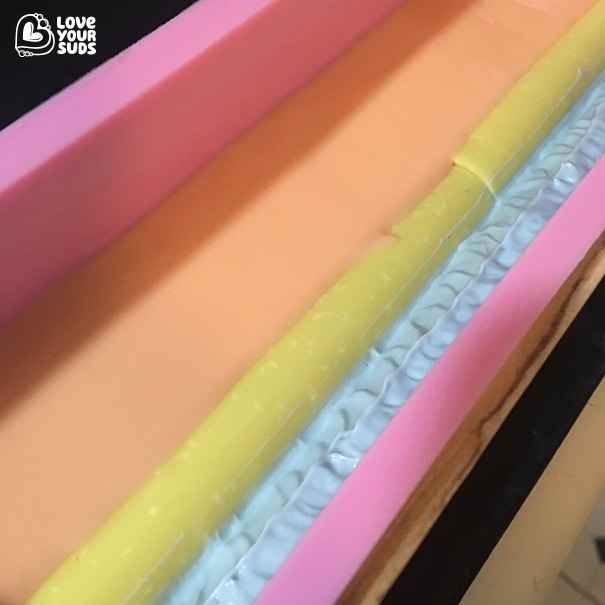
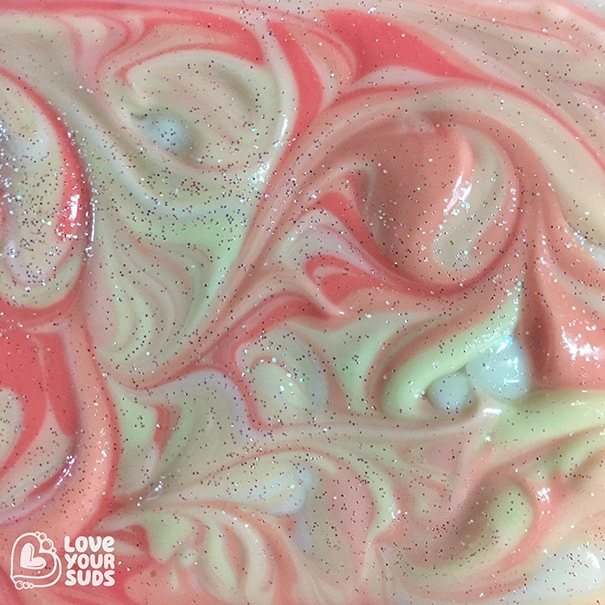
Introducing Sunset Summit, my entry into this month's Greatcakes Soapworks Soap Challenge – an ombré challenge – where we had the opportunity to use any soap design or technique that we wanted while exploring an ombré colour palette. I have been enjoying making my landscapes lately, so I decided to design a new mountain soap while kicking it up a notch with an embed (the sun), more layers (9 total – not including the embed) and two ombré sections: blues for the mountains and oranges/yellows for the sky. In order to achieve a nice landscape scene there needs to be some contrast. To help with this I made one layer in each of the ombré sections a few shades darker, while the remaining 3 layers were closer in tint. 4 DAYS OF SOAPING Day #1 I poured sun embeds. For this step I used 2 shades of yellow which were poured in a random, and alternating fashion into a round tube mold. This was then set aside for 2 days to to firm up. Day #2 I moved onto the first of the mountain ridges; this layer would be darkest in colour. To start, I created a batch of "blue mix" colourant, enough to use for all the mountain ridges. The mix was made up of 2 parts caribbean blue mica and 1 part ultramarine blue dispersed in olive oil. For the first mountain ridge, I added 1 tsp of the blue colour mix plus a little activated charcoal to darken it up a few shades. Before pouring the layer, I adjusted the angle of my mold by using a piece of wood under one side to prop it up. Once the first layer was poured, rows of trees were sculpted onto the soap surface with a spatula. The mold was then covered and the left undisturbed overnight to set. Day #3 was for the second and third sets of mountain ridges. For these I used the same blue colourant mix. For the second layer I added the 1 tsp of colour mix only. For the third layer I added 0.75 tsps of the blue colour mix and a few drops of water dispersed titanium dioxide (TD). Once the third mountain layer was poured I sculpted the ridges using a spatula and covered the mold to leave it to sit overnight. Day #4 is when I unmolded the sun. I did this in the morning before leaving for work, giving it about 9 hours to firm up until I returned to soaping again that evening. The first step was to slice it down the middle length-wise to create two semi-circle shaped columns. Because I was adding the sun to the top of the highest mountain ridge, I wanted parts of the mountain to be jutting into the sun's shape. To achieve this I cut triangle sections out of the columns using a knife before sculpting and shaping them using a wooden skewer. Next I moved onto the remaining mountain ridge which would be the lightest in colour. To achieve the light blue I used 0.25 tsp of the blue mix with 0.25 tsp of TD. Once the colour was mixed the first step was to add a thin layer of the light blue batter onto the sculpted side of the sun columns. I made sure to fill all the recessed sections with batter. This would also help to reduce the likelihood that any air bubbles would be caught beneath the embeds when they were set in placed. After tilting the mold and propping it up with my trusty piece of wood, I poured in most of the light blue batter. With a little sculpting, this would become the highest mountain ridge. But first I needed to place the sun embeds. They were carefully positioned onto the mountain ridge and set in place before the remaining light blue batter was spooned in along the highest side of the sun. I used the spoon as my sculpting apparatus for the highest mountain ridges. I then moved onto creating the 4 layers of sky using the "pour as you go" method. For these layers I started by separating the batch into 2 colours: one was coloured orange using 1.75 tsp of olive oil dispersed tangerine wow! and 0.25 tsp of oil dispersed fizzy lemonade, the other was coloured white using TD. I poured the first layer of orange until it reached what I believed to be the half point of the sun. The remaining layers were lightened by adding some white soap batter and 0.25 tsp of oil dispersed fizzy lemonade. Once the final layer of sky was poured, I left with about 200 g of white batter, most of which I poured onto the top as a new layer. What was left was then coloured gradually from yellow through to orange with each colour being dolloped along the top in a random yet evenly distributed pattern. The final steps were to swirl the top using a skewer and add dusting of glitter as the finishing touch. Many thanks for another fun and educational soap challenge, Amy! I certainly learned a few things on this one :) and loved every minute of it! All the best to the other Soap Challenge Club members too! Thanks for sharing your experiences. I'm looking forward to checking out your posts and pictures.
7 Comments
24/6/2017 10:18:00 am
Incredible work, Belinda! I think my favorite part, aside from the gorgeous colors and sculpted layers is how you were able to fit the sun embed into the soap so seamlessly. You really thought through all of the steps and it worked beautifully!
Reply
Nicole Lankenau
24/6/2017 01:07:45 pm
This is so pretty! Love it :)
Reply
Elezibeth
24/6/2017 08:00:36 pm
Congratulations on a masterpiece! This is brilliant work. I cannot wait to see what you do next!
Reply
Pam Birtolo
25/6/2017 09:13:42 am
Fascinating! And gorgeous! I have soap envy. You are creating art.
Reply
lisa
25/6/2017 07:36:06 pm
Really like your ambre sky it is beautiful striking soap great job
Reply
lisa
27/6/2017 12:30:46 pm
I must say it again when thinking of all of the beautiful soaps that are here this one sticks in my head I love how you integrated your ombre assignment into sculpted soap it is to remembered for me I really keep going back to it for one of my favorites!
Reply
Your comment will be posted after it is approved.
Leave a Reply. |
About the authorBelinda Williams is a creative at heart who loves to practice the art of soap making. Archives
June 2020
Categories |
|
Copyright © 2017-2023 Love Your Suds.
|

