|
Love Your Suds small batch, artisan, handmade soaps Blog Vancouver BC Canada
 Over the past couple of years soap making has fast become my number one hobby. It is something that I do outside of my work as an Art Director to relax and unwind while indulging my passion for creativity. Although all of my soap making has been done solo to date, I was excited to learn that the Soap Challenge for January 2017 was a collaboration challenge. The opportunity to make a soap with someone, while sharing knowledge and learning together – yes please! 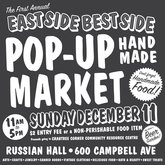 The timing was perfect too. In December some of my crafty friends and I got together to put on the first East Side Best Side Pop-Up Market. It was there that my friend Megan Griffith and I reconfirmed our plans to soap together sometime in 2017. Neither of us expected that time would arrive so soon, but when I reached out to Megan and told her about the Soap Challenge, everything just fell into place. We booked in our ‘Soap Making Saturday’, and began brainstorming ideas. Both Megan and I are drawn to using natural ingredients in our soap making. It was this common theme that lead us to think about the locally grown produce we have access to at this time of the year. During the winter in British Columbia, Canada, you can find locally grown cabbage, carrots, kale, leek, and parsnip. Of those veggies, carrots seemed to have the strongest connection with us. Theme-wise, carrots tie in nicely with spring and Easter, while the cure time required for our soap would line up perfectly with the dates for both. To further cement our decision to use carrots, Megan has access to locally grown bunches straight from the gardens of The Mighty Fraser Motel.
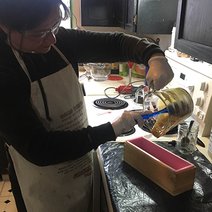
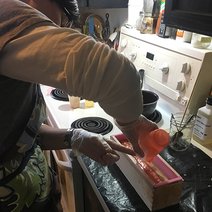
When it came to formulating our recipe we decided to go with a carrot cake inspired soap using carrot purée, coconut cream, vanilla bean, walnut powder, shredded coconut, pure vanilla essential oil (EO) and a dash of cinnamon fragrance oil (FO). These ingredients were added at trace to the following soap blend, which we split up into two batches with the ratio of 1:2.
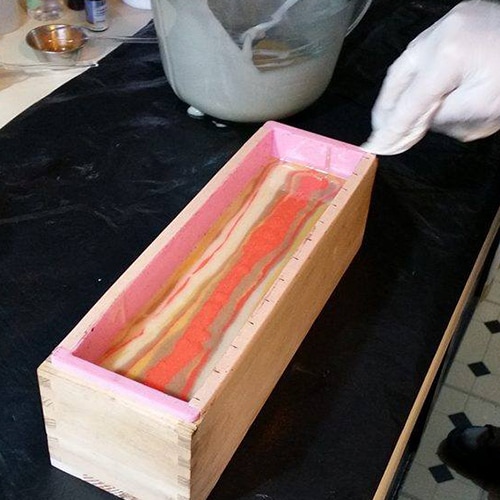
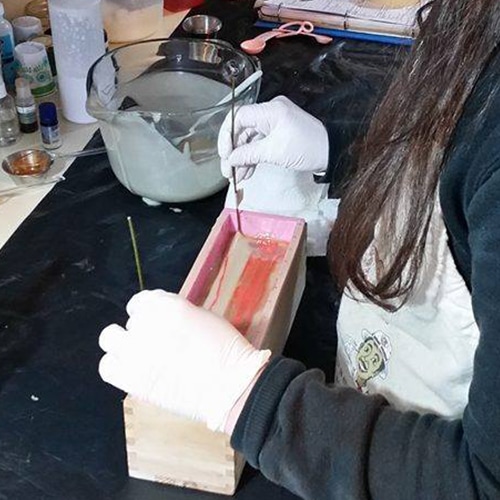
By breaking things up into two batches we could lay down the base layer first and allow it to firm up while we prepared the next batch. The base layer is where we added carrot purée, shredded coconut, walnut powder and vanilla powder to create an incredibly cake-batter-like mix. Once poured, we added a healthy sprinkling of vanilla powder on top of the wet soap to create a defined black/brown line. 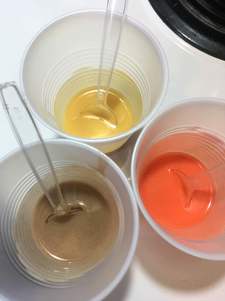 Batch two is where we added the coconut cream before creating the final two layers; the swirls layer and the icing layer. For the swirls we split up the colours as follows:
To pour the swirls we used the tiger stripe technique combined with a hanger swirl. To be sure we didn’t scrape through our carefully poured cake layer, a piece of tape was placed on both handles of the wire swirl tool, marking the deepest level to which we could swirl. The tape was applied prior to the swirls layer being poured.
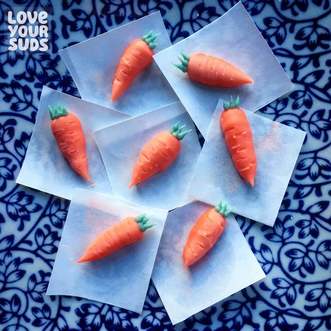
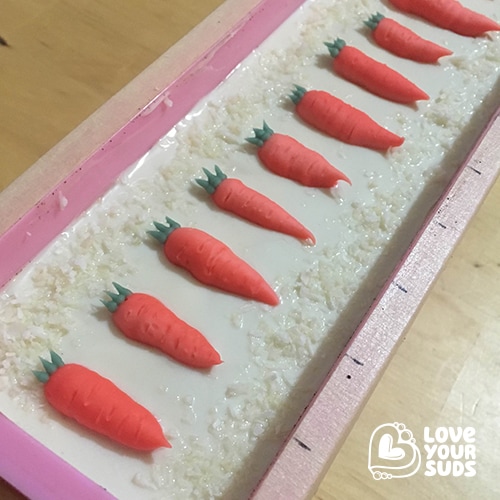
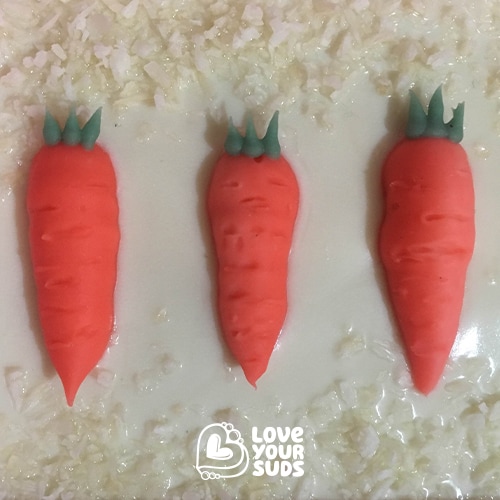
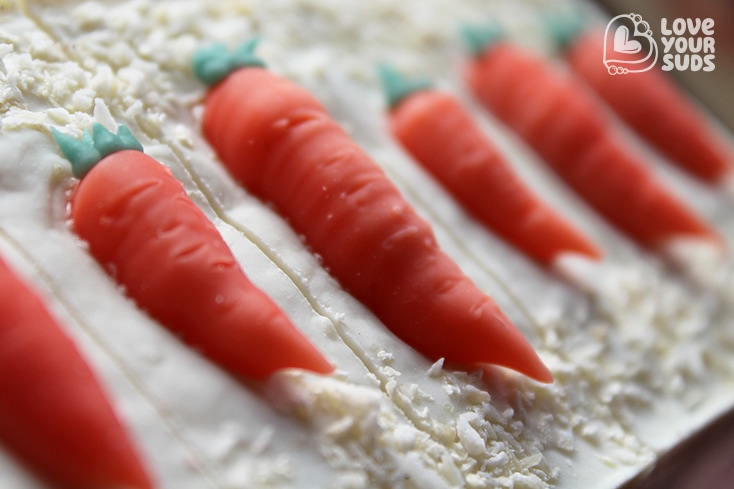
The final layer of creamy white icing was next. Using the remaining cream coloured soap batter we added TD, boosting it to white before pouring. Once poured and levelled, we framed the long edges with boarders of shredded coconut before planting a row of piped carrots down the centre to finish. The carrots were spaced evenly so that once sliced, each soap would feature a carrot on top.
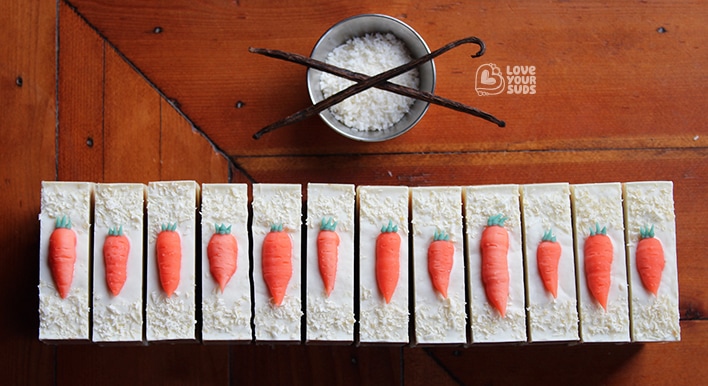
Since we were aiming for a bright orange in the swirls, the soap was placed into a preheated oven (to 60ºC) for 15 mins to encourage gel phase. After 15 minutes the oven was switched off and the soap was left inside to cool slowly overnight. The next morning the soap was removed from the oven and set aside for 3 days before slicing. … And here they are! Our finished soaps. I am thrilled with the results. The aroma is delightfully cakey and delicious, with notes of vanilla, creamy coconut and a hint of cinnamon. 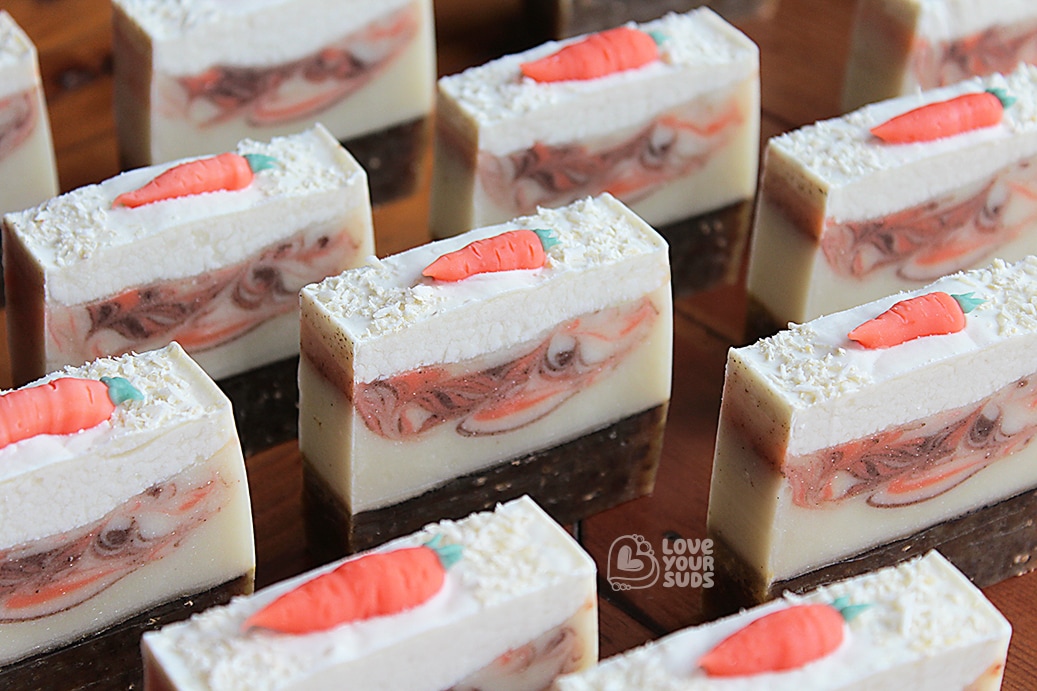
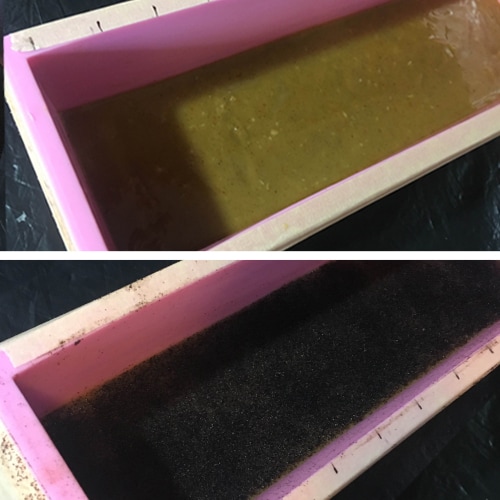
I had so much fun collaborating with Megan on this soap challenge, and we already have plans in place for our next collaboration. When you have a shared goal and a passion for creating something special, people can achieve wonderful things together. I am grateful to Amy for inspiring us to work together on this month’s challenge.  What we learned Two heads and four hands are an asset in soap making. There were a lot of moving parts during this project and together we managed to remember each ingredient and step. We also learned that yellow can be a difficult colour to sustain. This isn’t news to me, but I was quite surprised with this example since the yellow was bright and contrasted well with the cream and the white, yet it didn’t show up in the sliced soap. The search for the perfect yellow colourant continues. What do you use to achieve those bright yellows? or is it more about how much TD you use? We would love to hear about your experiences. Post below if you have any suggestions. 
18 Comments
18/1/2017 11:37:15 am
Wow! This is such a fun soap! Love the carrot cake theme - you two went all out! Sunshine Yellow mica from Nurture is good for a nice bright yellow. :)
Saponista
18/1/2017 12:22:43 pm
It sounds amazing and I absolutely adore the little carrots on top!
Marty
18/1/2017 03:40:47 pm
Love your carrot tops! Such a fun soap! 19/1/2017 03:49:48 pm
These are just so cool! The ingredients are amazing, and they really are just adorable. Great work!
Lisa
19/1/2017 07:09:25 pm
Your soaps are gorgeous! The little carrots are so cute. I wish I could smell them :) 20/1/2017 01:09:26 pm
Beautiful soap, professional looking story layout-
Cheryl
20/1/2017 04:56:56 pm
These soaps are SO CUTE! I love them! 21/1/2017 11:19:36 am
My goodness, you both did a fabulous job!! These turned out absolutely amazing! Everything you put in the soap sounds absolutely incredible, too! Well done!!
This is lovely! Your comment will be posted after it is approved.
Leave a Reply. |