|
Love Your Suds small batch, artisan, handmade soaps Blog Vancouver BC Canada
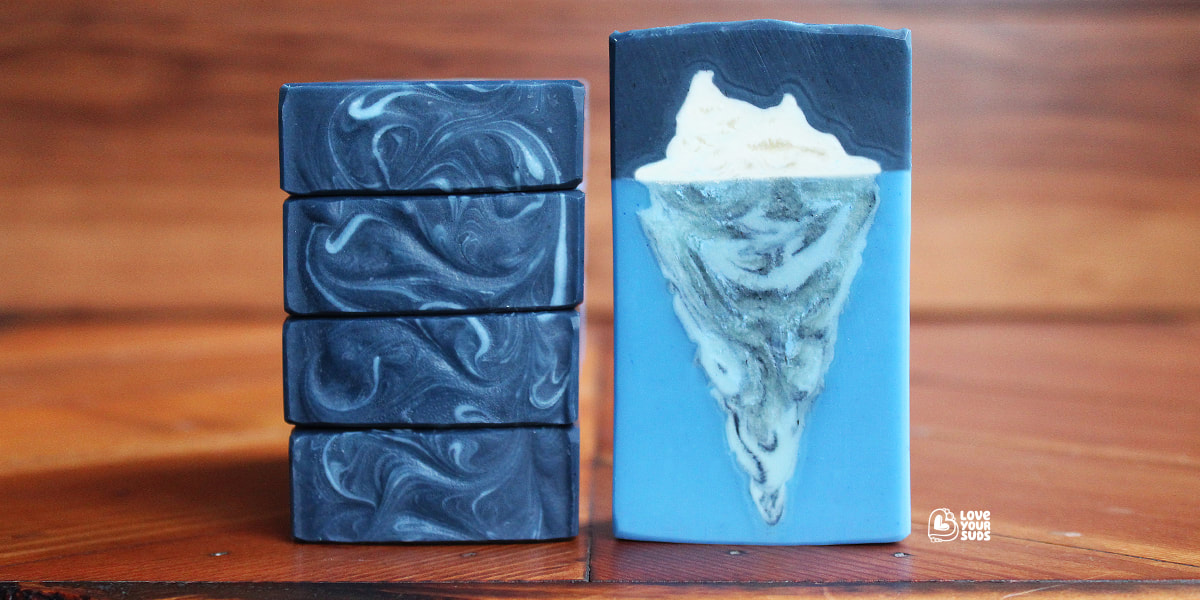
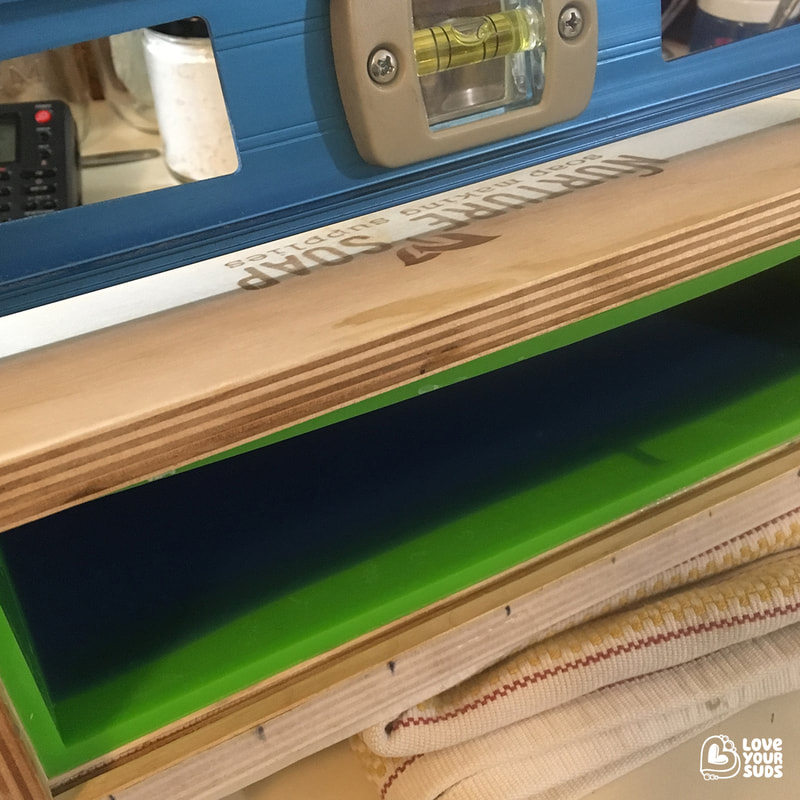
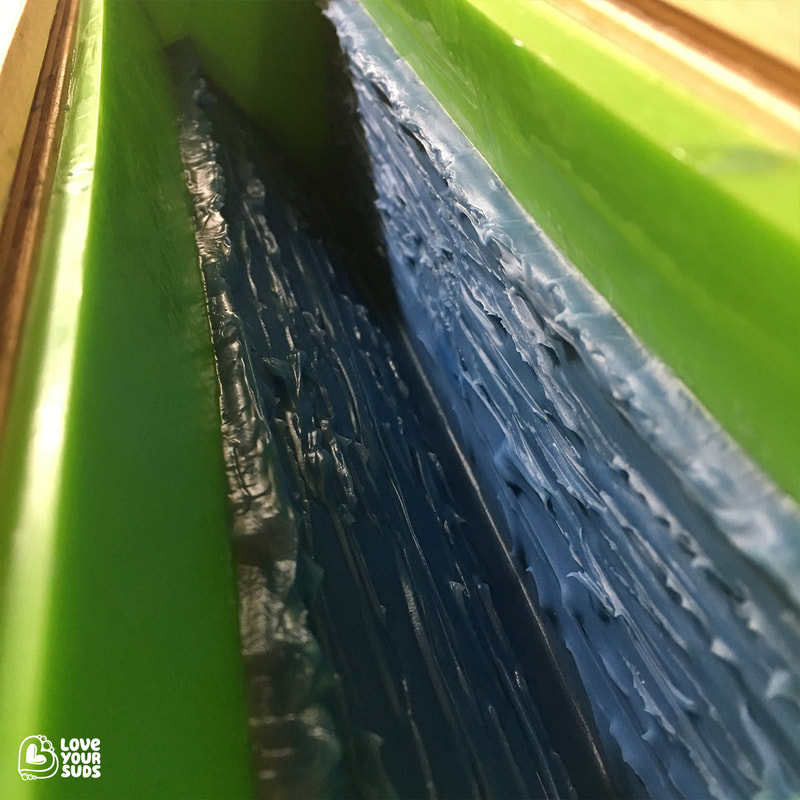
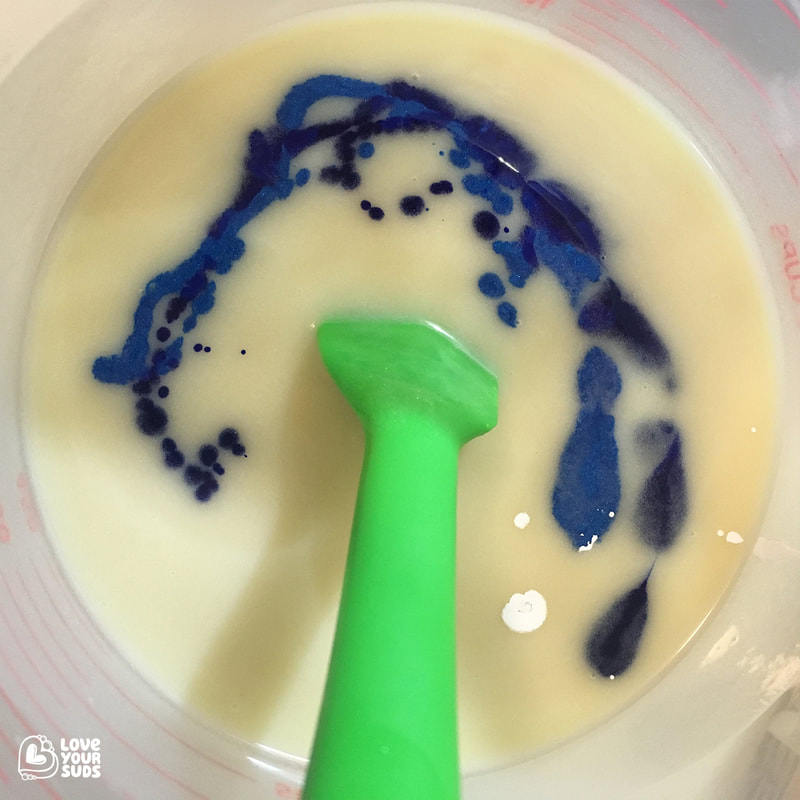
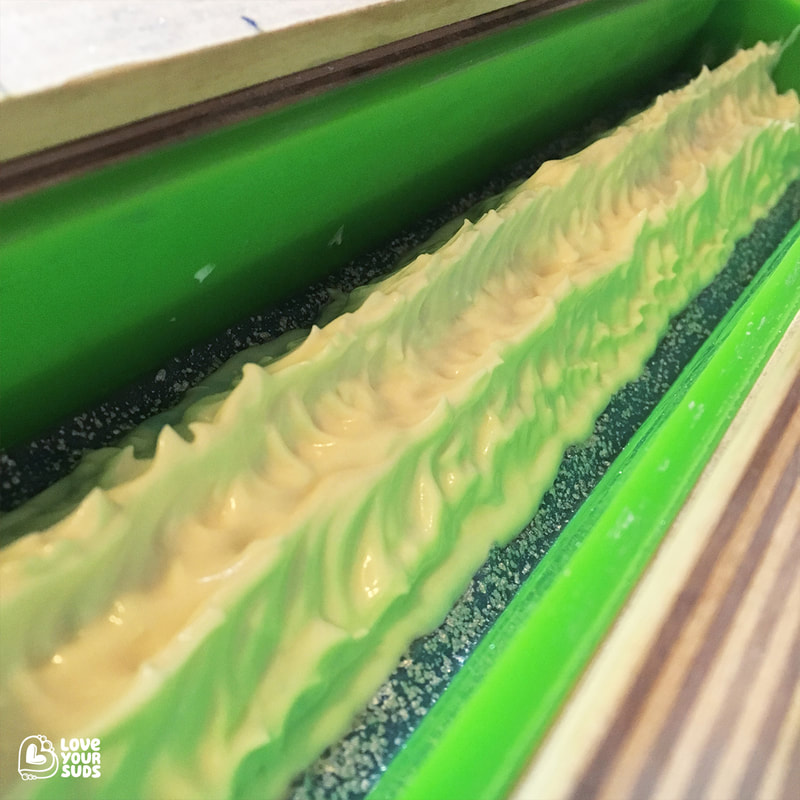
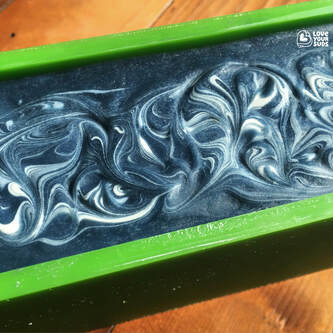
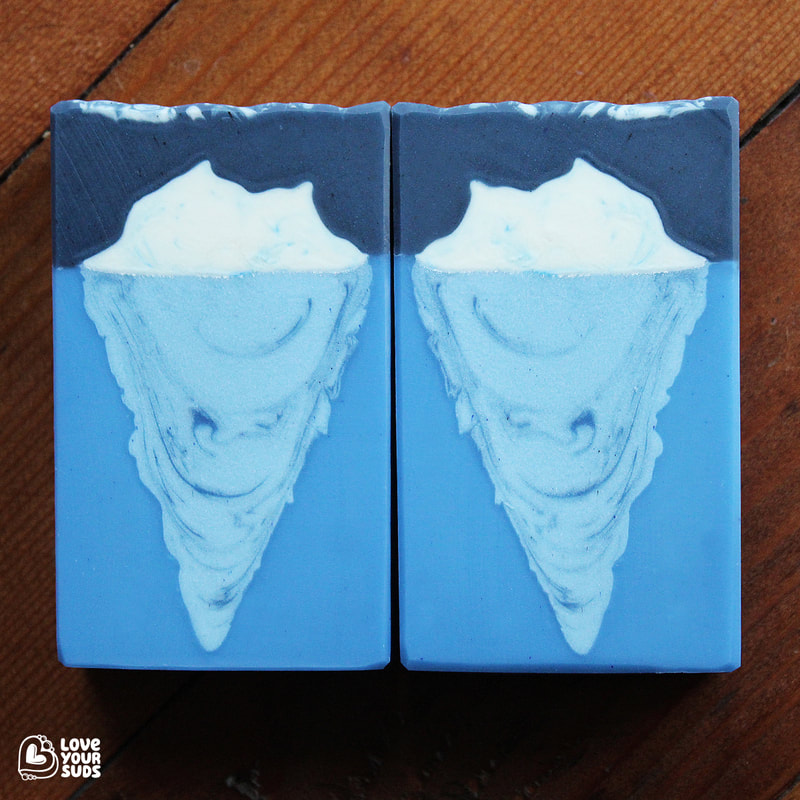
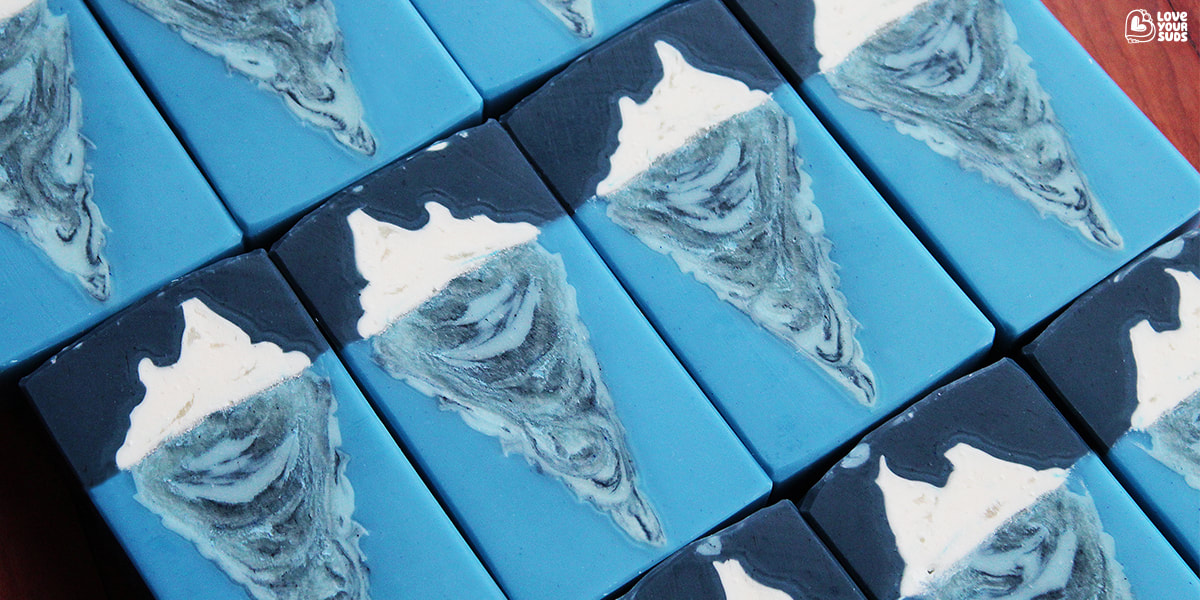
There's beauty to be found in imperfections. I have always liked the idea of embracing things that are perceived as being imperfect and transforming them into design elements. This concept is perfectly captured by the Japanese philosophy of wabi-sabi, which encourages us to see the beauty in the flawed or imperfect. I also find that when I give myself permission to make mistakes I become more relaxed and often find greater enjoyment in the creative process. Any unplanned deviations along the way can then become opportunities to discover new and exciting techniques. This is one of the things I find most rewarding about soap making; the sense of being on a journey and making new discoveries. For the month of February 2019, Soap Challenge Club members were encouraged to explore glycerine rivers as a design element in their soap making. Glycerine rivers is the collective name given to the crackled, marbled or mottled effect that sometimes shows up in cold process soap making. The effect is more likely to occur when higher temperatures are reached during the saponification process. Once the rivers have formed they are more translucent and often darker than the rest of the soap that surrounds them. They are purely cosmetic and have no adverse affects on the soap itself. Almost all soap makers aim to avoid them though as they can end up distorting carefully planned designs and swirls. Our guest teacher this month was Clara Lindberg of Auntie Clara’s Handcrafted Cosmetics – a pioneer in the soap making community and an artist to whom I have looked up to since before I began making soap. She is innovative, thoughtful and technical in her creative process, and incredibly giving of her findings which she shares through her blog posts. She is also not one to shy away from glycerine rivers and has explored them as a design element in her creations. 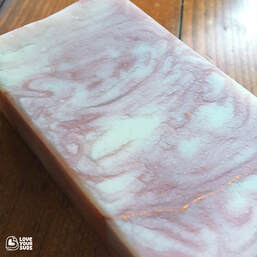 This was not my first time embracing rivers either. Here’s a capture of Marble Rose artisan soap, an otherwise vegan soap that I made late last year to which I added SPORT COLLAGEN – an addition to my wellness regiment under the supervision of my naturopath, Dr Aubrey Shannon. I have been using it for a few months now and my nails have never been better. My hair and skin have improved too. With this in mind I figured it might work well as an ingredient in my soap making. Testing is still underway and I am hearing great things so far from family and friends. I am enjoying it too, particularly because it is scented with rose absolute. Having explored the marble-look already in my soap making I wanted to try something new for the challenge. I also wanted to push myself further to see if I could capture rivers in well defined sections of my soap design. It got me thinking about anything in nature that might lend itself to a crackled, marbled texture. An iceberg seemed like a great subject to explore. For the first batch I used a vegan recipe packed with shea, cocoa and mango butters, which was scented with a blend of eucalyptus, peppermint and rosemary essential oils from Hughes & Company. The water content was increased by 30% in the sections where I wanted the rivers to appear. Glycerine was added to these sections too. Some soap makers believe that adding glycerine may increase the chances of glycerine rivers appearing. You must be mindful of how much glycerine you add though as it can prevent the soap from hardening when used in higher quantities. For colourants I went with indigo, activated charcoal, caribbean blue mica from Bramble Berry, titanium dioxide and a dusting of silver mica along the water line to give it some shimmer. Once the final layer of soap was poured it was into the oven for 30 minutes on the lowest setting (70 deg celsius / 158 degrees Fahrenheit). The oven was then switched off and the soap left in the oven undisturbed until the following morning. I used a my silicone lined 2.5 pound tall skinny premium soap mold from Nurture Soap. A towel was also placed over the acrylic lid for some added insulation. The next morning I removed the soap mold from the oven and left it on the kitchen counter while I went to work for the day. Unmolding and slicing happened later that evening – approximately 22 hours after the soap went in the oven. Although I was happy with the design, only a few very faint lines or wobbles were apparent on very close inspection. I wanted the glycernine rivers to really stand out though, so I decided to try again. For the second batch I simply increased the water by 30% and did not add any glycerine. Everything else remained exactly the same except that I added a touch more indigo to the swirls within the submerged part of the iceberg. This time the rivers were clear and well defined, as were the halos which I really like too. They add some extra definition the “rivered” parts of the soap – the top and submerged sections of the iceberg. Although more testing is required to drawn any definitive conclusions, the results lend themselves to suggest that adding glycerine may in fact discourage the formation of glycerine rivers rather than encourage them. This is something I am curious to understand further as I learn more about the science of soap making. I will be sure to provide updates. I really enjoyed this challenge. Thanks to Amy for hosting and guiding us through the process. Many thanks to Clara as well for sharing her tips and techniques, and for inspiring us to see the beauty in glycerine rivers. Best of luck to the club members who participated too. I am looking forward to seeing your creations and hearing about your experiences.
18 Comments
23/2/2019 09:48:46 am
I'm so glad you chose a blog for your platform to share your soap this month. So many interesting tidbits of information here! The soap design is fabulous and the colors and textures are really amazing! I'm especially intrigued by the added glycerin creating the opposite effect of what Kevin Dunn's research showed. I also found it difficult to create rivers with high water soap that was surrounded by low water soap. I'm also curious how much time it took to pour this soap - it seems like it would take awhile for the sides to set up! Did you create separate batches for the different areas?
Reply
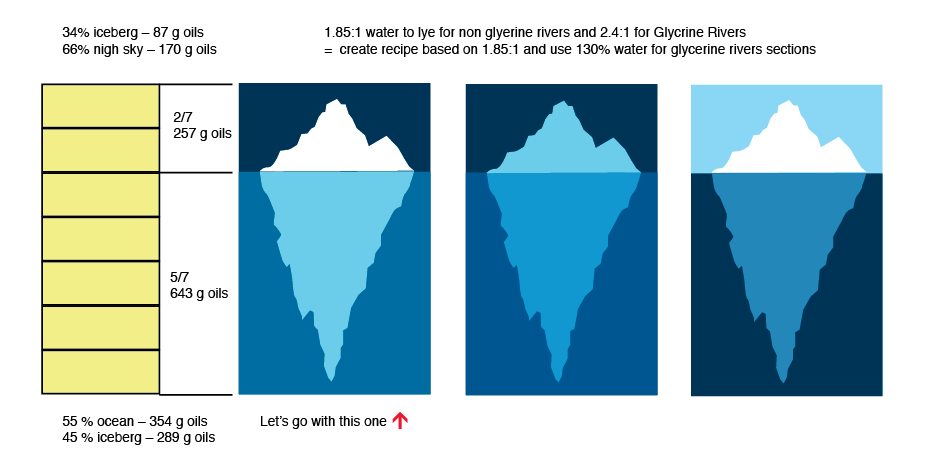
Thanks so much, Amy! I have been meaning to get back into writing blog posts. I do enjoy it, and I'm glad I could find the time to do it this month :) The pouring portion of the soap was done over a period of about 2 hours. I split the batch based on the sections and poured them separately. You can see this more clearly in the preliminary sketches image. The first 2 pours (for the ocean) required a little more time to firm up before I sculpted into them – about 25 mins for the first side and 15 mins for the second. There was some careful testing done before I committed to flipping the mold and pouring side 2. I have a feeling that surface tension is a factor too. With most of the soap sitting towards the bottom of the mold perhaps it helped with retaining the structure? Over time I have become more confident with using trace and heat to gain a little more control of how quickly the batter firms up. I find that the faster I mix the batter, even if it is to a light trace, the quicker it firms up. Using slightly higher temps for the oils can speed things up too, as does putting on the lid between pours. I hope this helps! All the best, Belinda
Reply
23/2/2019 09:15:08 pm
Just...WOW!
Reply
Pam Carver
24/2/2019 04:25:00 am
Love your design, perfect cross section of an iceberg! Your process is a great example of soaping with patience and enjoying the process. Beautiful
Reply
Marie Nadeau
24/2/2019 09:33:08 am
Wow! This is sooooooooo beautiful! I love the colours, the idea, the look !!!
Reply
26/2/2019 10:30:06 am
This is truly amazing, Belinda! I am just mesmerized by the design idea, your execution and the gorgeous result!
Reply
Oh Deb you are the sweetest! Thank you so much for stopping by, and for sharing your thoughts and this cute backstory. Best wishes to you and your hubby. Can't wait to hear more about your soap making adventures together. I love your creations and I hope your hubby get's to making some soon. Be sure to keep me posted on that so I can cheer him on too :)
Reply
Helene Glemet
27/2/2019 05:52:25 am
Wow Belinda! I am very impressed by how well you plan out your soaps and your documentation.. I took notes :-) My sketches usually don't make it out of my head! Beautiful execution and result!! You are very talented and creative!!
Reply
Holly Shelton
27/2/2019 11:21:07 am
What an amazing design and process! So unique! Your soaps and glycerin rivers turned out just beautifully! Thank you for sharing how you made them. It was so interesting to read! :)
Reply
Jan
22/8/2019 06:03:48 pm
Words cannot Express the artistry ,creativity and preaparation that made this possible. I took up soap making about 6 months ago. My niece and nephews have sensitive skin, eczema and allergic to most detergent. Hence I took up soap making so that I know exactly what is going on their skin. Additionally I monitor how they react to certain oils, fragrance etc. My creative side is not yet born but "my" babies skin are healthy. I am inspired by you.
Reply
19/3/2021 03:17:47 am
your writing style is outstanding as well . i really appreciated that you shared this amazing post with us. Thanks for sharing and keep it up the amazing work.
Reply
Your comment will be posted after it is approved.
Leave a Reply. |
About the authorBelinda Williams is a creative at heart who loves to practice the art of soap making. Archives
June 2020
Categories |
|
Copyright © 2017-2023 Love Your Suds.
|

